 foxxcyber/docs
Users, teams and roles
Create accounts, group them into teams that own packages, and tune what each role may do in the permission matrix.
Access in Bedrock RMF is the product of three things: the user (who signs in), their role (what kind of work they may do), and their teams (which packages they may do it on). All three are managed from the Admin Panel, reached from the bottom of the left sidebar; its own sidebar lists ATO Packages · Teams · Users · Roles & Permissions · Baseline Templates · API Keys · Audit Log, plus Back to Dashboard.
For the one-paragraph summary of the six roles, see First Login and Roles. This page goes deeper.
Users
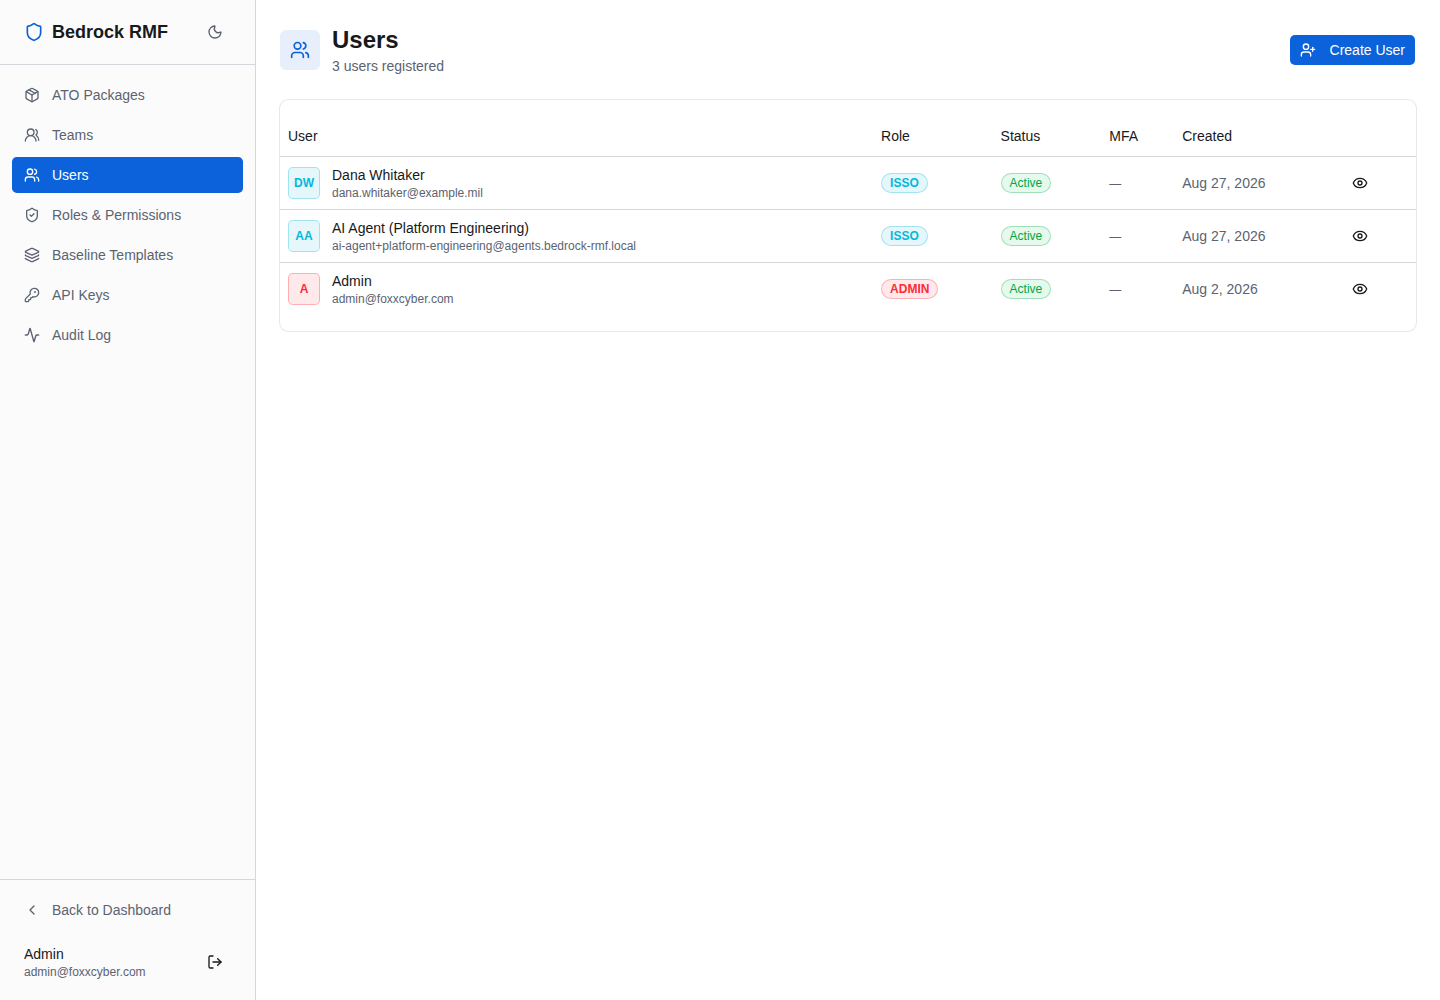
Admin → Users lists every account: User (avatar, name, email), Role, Status, MFA and Created.
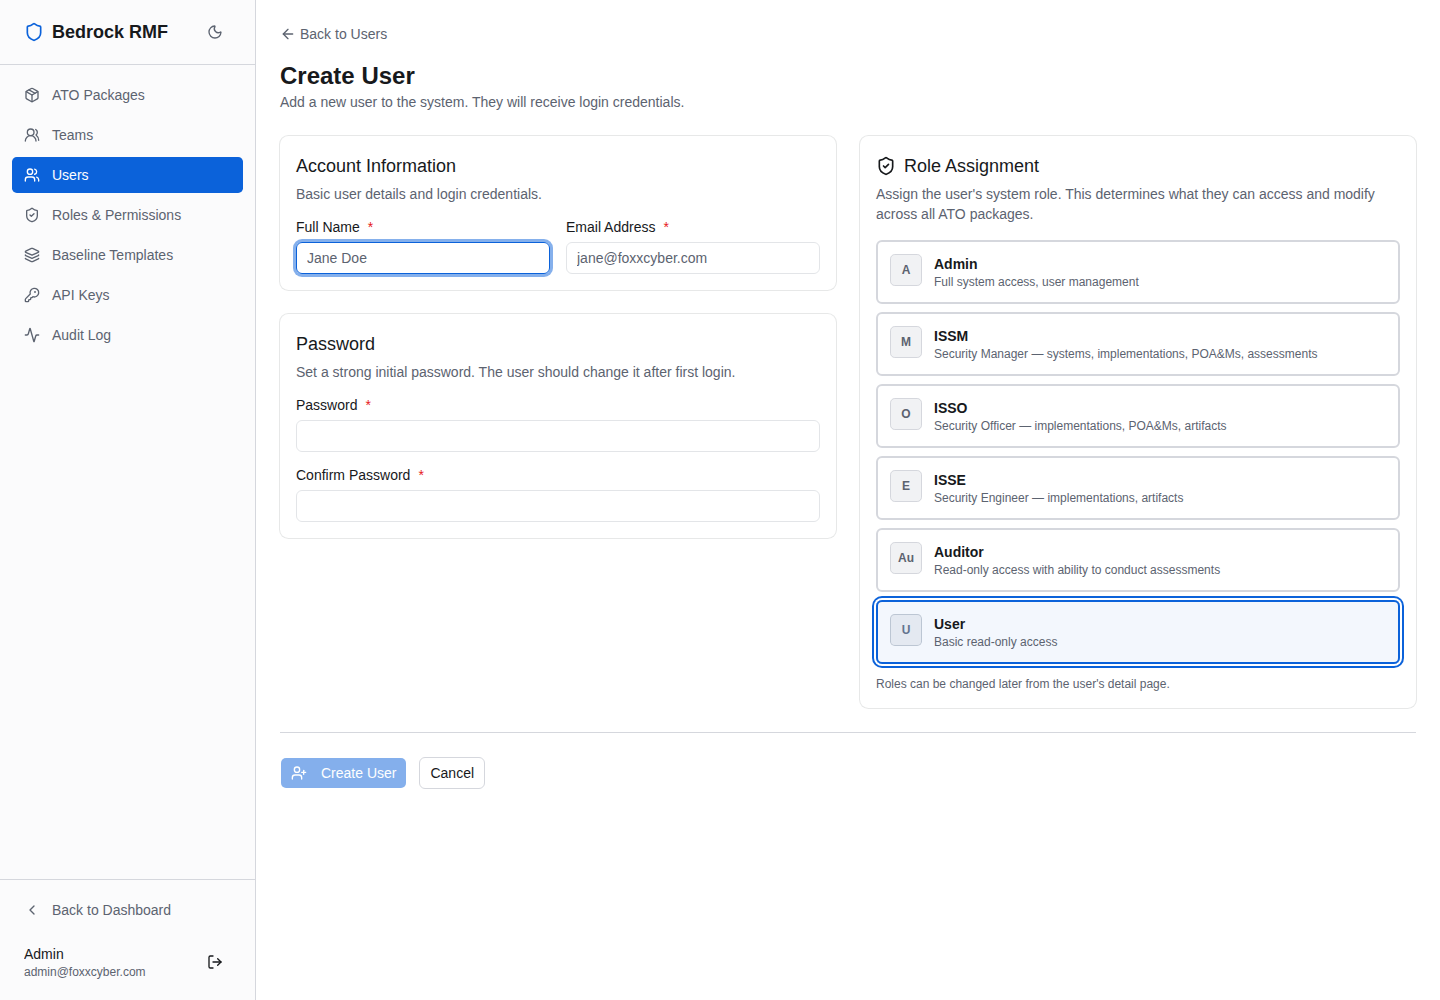
There is no self-registration and no invitation email. An administrator creates every account with Create User:
- Full Name and Email Address — the email is the login.
- Password and Confirm Password — set a strong initial password (a mismatch shows Passwords do not match). Hand it over out of band and have the person change it under Settings on first sign-in.
- Role — one card per role: Admin (full system access, user management), ISSM (Security Manager — systems, implementations, POA&Ms, assessments), ISSO (Security Officer — implementations, POA&Ms, artifacts), ISSE (Security Engineer — implementations, artifacts), Auditor (read-only access with the ability to conduct assessments) and User (basic read-only access).
A user holds exactly one role. If someone's duties change, change the role here rather than creating a second account — the audit log keeps attributing their history to the same person.
The AI Agent user
Every team also has a service account named AI Agent (Team name),
with an address like ai-agent+team-slug@agents.bedrock-rmf.local and
the ISSO role. It is created automatically with the team and is what
API keys act as. It cannot
sign in to the web app. Leave it in place; deleting it breaks the team's
keys.
Teams
A team is the unit of package ownership. A package belongs to one or more teams, and a user sees the packages of the teams they belong to. Package scope is enforced server-side on every request, so a user who edits a URL to another team's package gets nothing.
Admin → Teams shows Total Teams, Total Members and Package Assignments, and a table of Team, Slug, Members, Packages and Created. Click Create Team, give it a Team Name and accept or edit the auto-derived Slug, then Create Team. Opening a team is where you add members and assign the packages the team can reach.
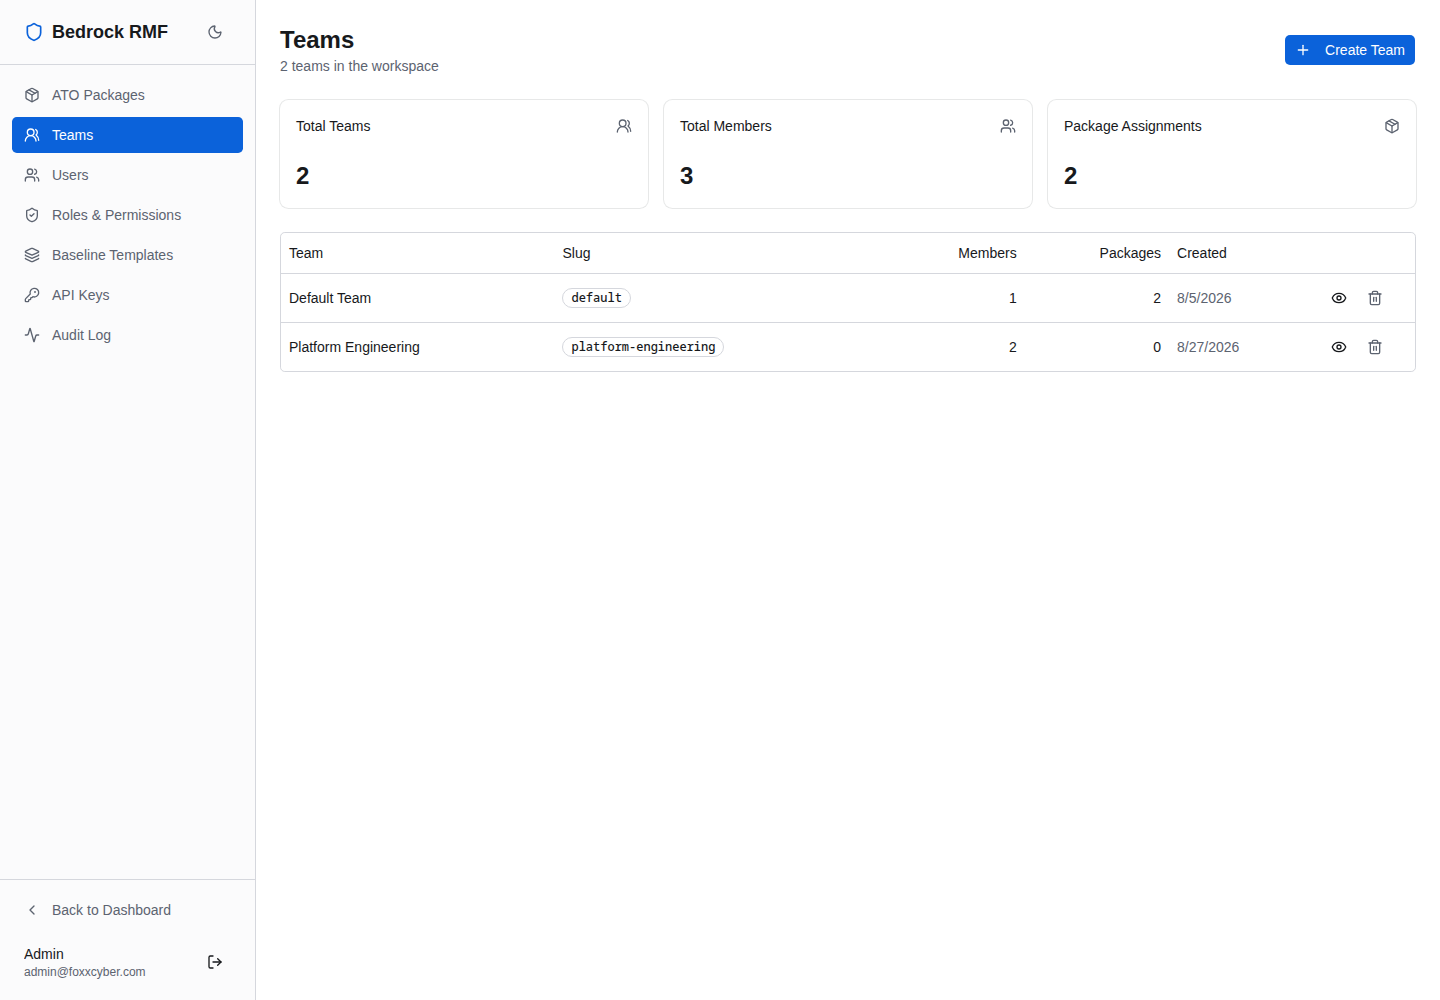
The bootstrap created a Default Team so the first package has an owner. Rename it or add real teams alongside it — one per program office, engineering group or site that owns systems.
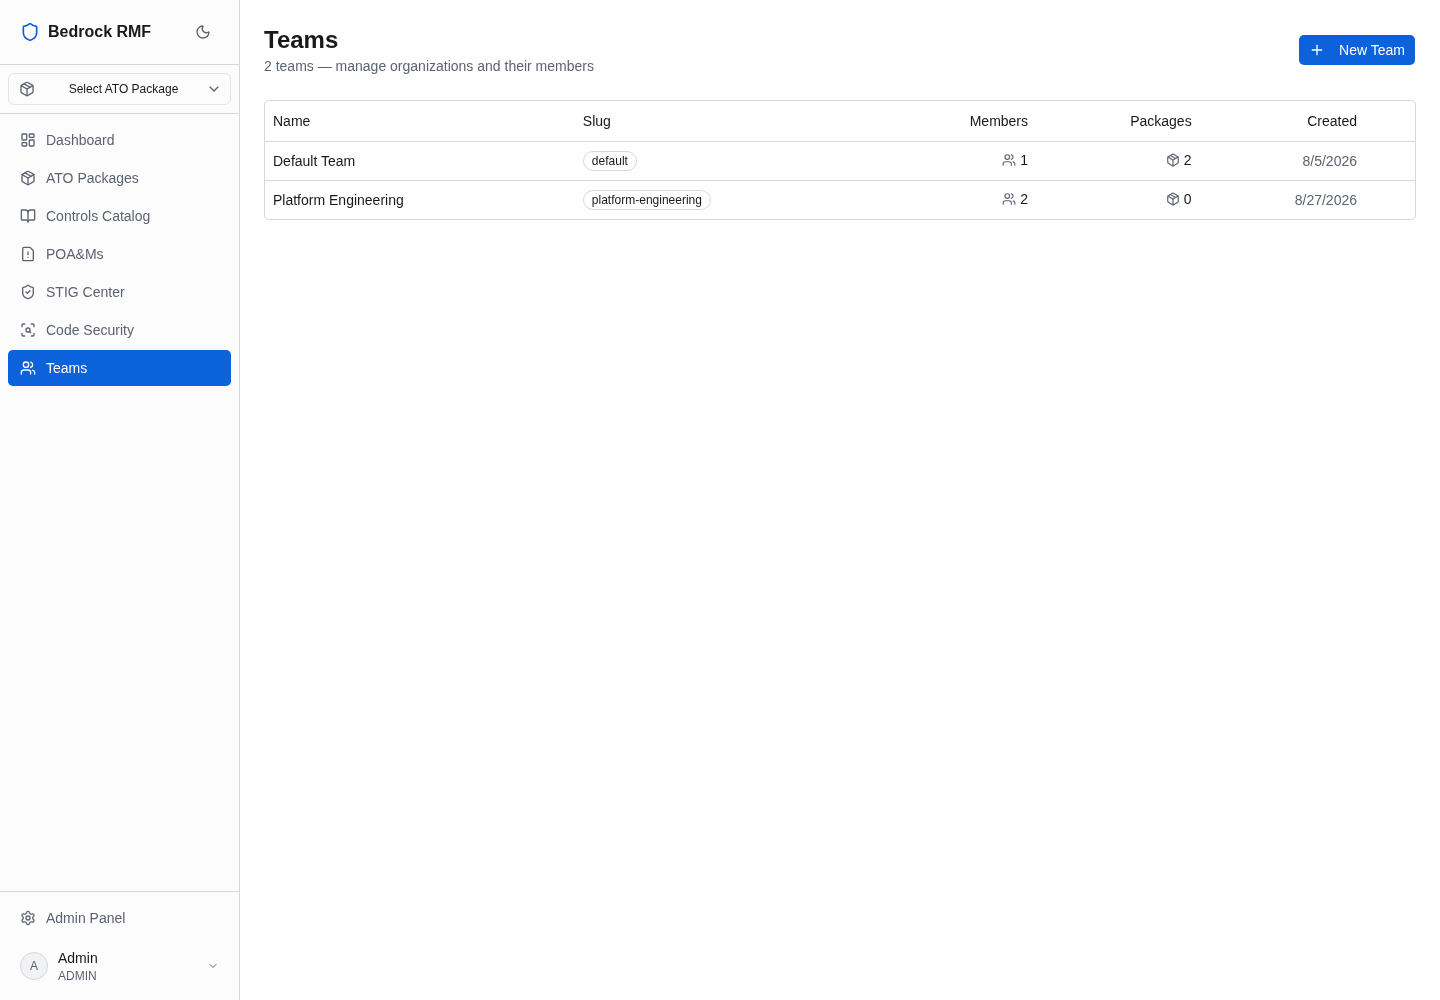
Users have a lighter view of the same data under Teams in the main sidebar: the teams they are in, with Name, Slug, Members, Packages and Created, and a New Team button for those allowed to create one.
Roles & permissions
Admin → Roles & Permissions shows a card per role with its scope
badge — global for Admin and User, organization for ISSM, ISSO, ISSE
and Auditor — and a bar reading n of 39 permissions. Admin is read-only
here (View); every other role has Edit.
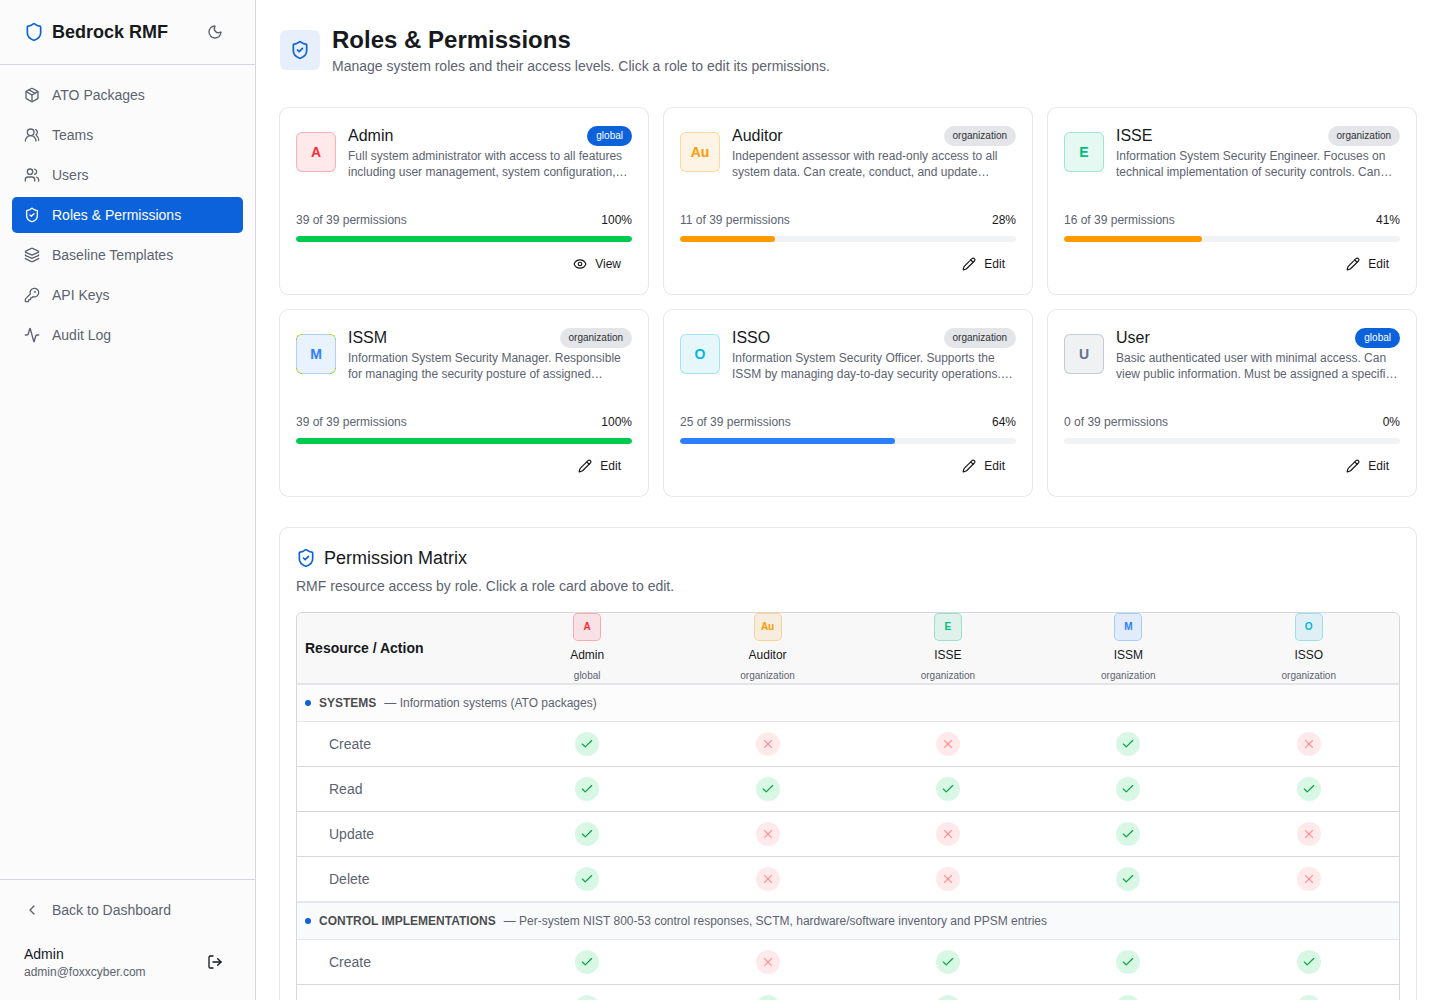
Below the cards, the Permission Matrix lays out RMF resource access by role: rows grouped by resource (SYSTEMS, CONTROL IMPLEMENTATIONS, and so on) crossed with actions (Create, Read, Update, Delete, …), with a ✓ or ✗ for each role. This is the single answer to "can an ISSE delete evidence?" — read it off the grid.
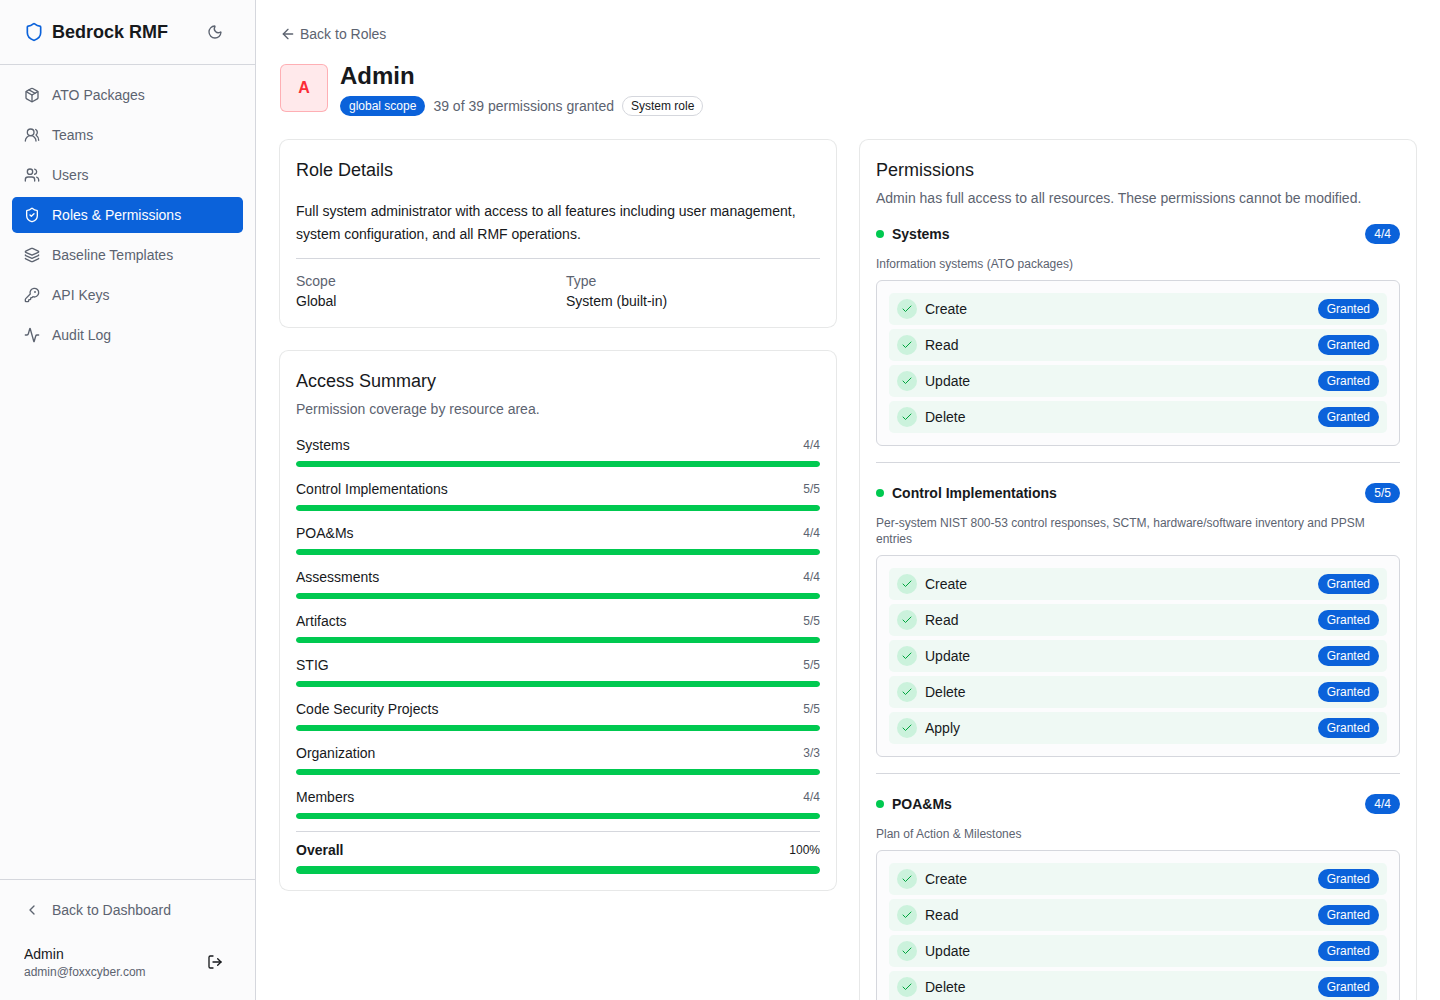
Open a role to change it. Each permission is a toggle; save, and the change applies to every user holding that role on their next request. There is no code change and no restart.
Edit roles, not the guards
Permissions are checked on the server for every action, including the
/api/v1 API. Widening a role widens it everywhere at once — for every
user with that role and for every API key acting as an ISSO service
account. Prefer creating the narrowest role that fits the job.
Personal settings
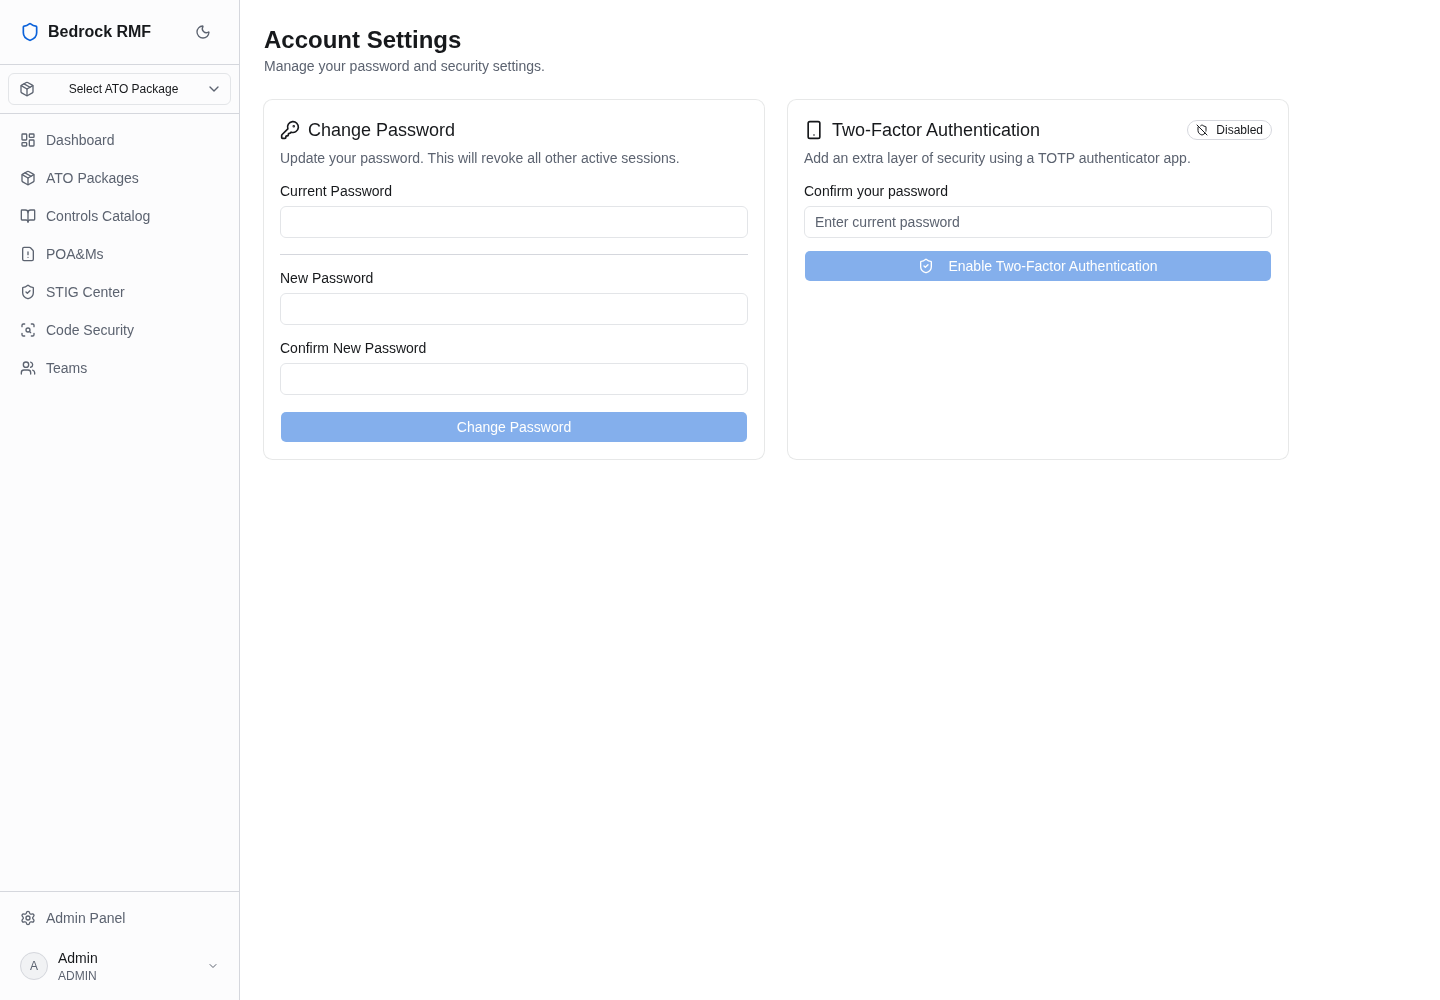
Every user has Settings (from the user menu): Manage your password and security settings.
- Change Password — current password, new password, confirmation. Changing it revokes all other active sessions, which is the intended way to kick out a session you do not recognise.
- Two-Factor Authentication — shows Disabled until enrolled. Confirm your password, click Enable Two-Factor Authentication, and scan the QR code with a TOTP authenticator app. Enrolment state shows up in the MFA column of Admin → Users, so an administrator can see who has not done it yet.