 foxxcyber/docs
The roster
Add athletes, record contacts and positions, and see who still owes a waiver.
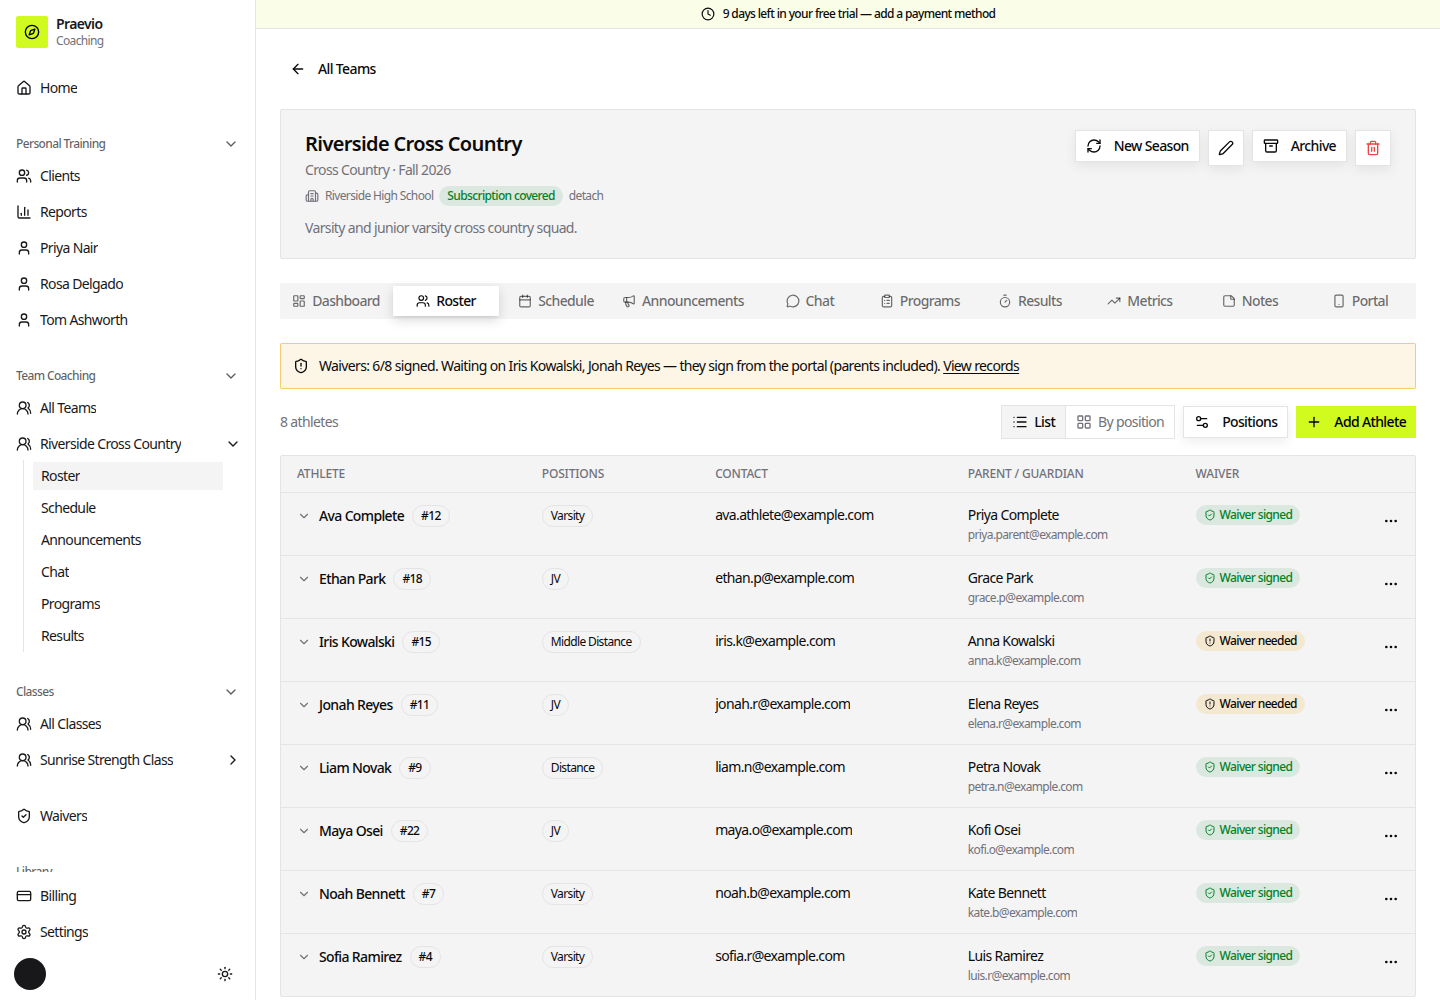
The Roster tab is the list of everyone on the team. On a desktop it is a table; on a phone the same rows stack as cards, because a six-column table is unusable on the sideline.
The waiver banner
A banner sits above the roster whenever waivers apply to this team. When everyone is covered it reads Waivers: all N athletes covered with a link to View & print records. When someone is outstanding it turns amber, shows the signed-of-total count, names up to five people you are waiting on, and reminds you that they sign from the portal — parents included. Both states link to the team's waiver records; see Signatures and compliance.
What a row shows
The table columns are Athlete, Positions (teams with positions defined), Contact, and Waiver.
- The waiver cell is a chip: signed, with the signer's name and date on hover, or a "no signed waiver on file" marker.
- A small mail icon next to a contact means that address has signed in to the portal at least once, so you know the invitation actually landed.
- An Inactive badge marks athletes you have taken off the active roster without deleting their history.
The athlete panel
Click a row to expand it. Four buttons switch what the panel shows:
- Info — waiver status, phone, email, parent or guardian contact, and notes.
- Notes — private coach notes about this athlete, with an entry box.
- Metrics — record a value against any athlete-scoped metric: pick the Metric, enter a Value and Date, optionally Link to Event, and add Notes. If you have not defined any athlete metrics yet, the panel says so and points you at the Metrics tab.
- Results — the athlete's competitive history. The button is labelled for the sport, so timed sports show Races where ball sports show Results.
See Results and metrics for how the underlying definitions are set up.
Adding and editing athletes
Click Add Athlete. The dialog covers:
- Name (required)
- Positions — checkboxes, if the team has positions defined
- Jersey #
- Email and Phone — the athlete's own
- Parent / Guardian Contact: Parent Name, Parent Email, Parent Phone
- Notes
Email addresses matter beyond being contact details: they are how a person reaches the portal. An address in Email signs in as the athlete and can log workouts; an address in Parent Email signs in as a parent and can view but not log. See How the portal works.
Editing an athlete reopens the same dialog.
Positions and the board
Once a team has at least one position defined, the roster toolbar gains a List / By position toggle and a Positions button. By position lays the roster out as a board grouped by position; Positions opens Team positions, where you add one with Add a position and rename or remove existing ones.
Positions are a team feature. Classes do not have them.